 It’s grilling season! You can smell it in the air on a hot weekend, someone cooking on their outdoor grill. I call it grilling for two reasons. One, grilling is a high heat, a quick outdoor cooking method where we sear grill marks into our food. And two, BBQ (which we sometimes use interchangeably with grilling) is a low heat, long cooking method.
I’m sure you’ve seen those shows about bearded men in the southern US who use logs and smokers, make their rubs and sauces, and cook their food for several hours. That is BBQ to me, but I’m not here to teach you vernacular. No, I’m here to teach you how to get that perfectly seared, well seasoned, delicious meal. It can be a daunting task to get those perfect grill marks on your food. The food sticks to the grill, then you try to move it and leave half of it stuck to the grates. Then you go to eat it only realizes it either overcooked or undercooked. The stress of it all! Well, have faith. I can teach you a few simple rules.
 Rule 1: Salt IS your friend. You certainly don’t need a lot of it, but you should use some. Salt performs some magic for us. Salt makes things taste better. I’m not a scientist, and I don’t play one on TV, but salt is a reason food has flavour. I prefer Kosher salt because it is easier to distribute the granules. Coarse salt, kosher, sea salt, all of them do the same job. I do not use table salt for cooking because of the additives in it. Nothing to run away in fear from, but table salt is better as a baking salt. The smaller granules spread out better, but I’m not looking for that in my cooking salt. I want the salt to do the same job, but I need a larger granule for this purpose.
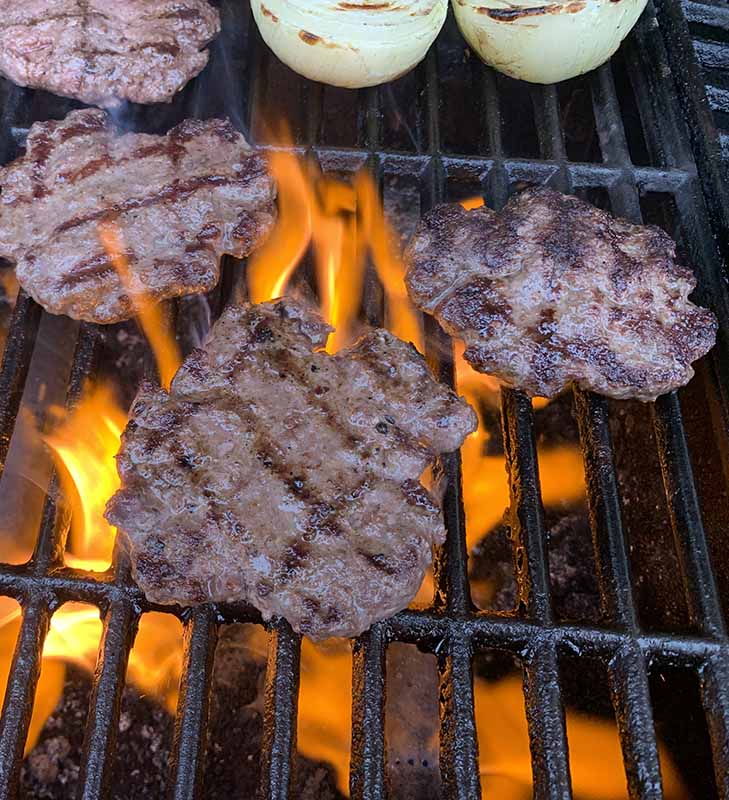
Rule 2: After the meat touches the grill; don’t touch it. At least, not yet. We are using some science here to add more flavour. The Maillard (my-ard) Reaction is why your food browns. Heat causes a rearrangement of amino acids and some of the simple sugars in your food. The heat from your grill caramelizes these sugars, and you get grill marks. By letting the food sit for a few minutes, the grill will give your food the marks you are after. When it is easy to move, and there is no sticking, then, but not before, is when you can flip it. You will need to be patient, and we are playing a long game here. If you’re not one who can wait, this is an excellent lesson in how immediate satisfaction isn’t the answer. And your waiting isn’t that long, maybe three minutes a side for burgers. Once your meat is ready to turn, DO NOT FLIP IT. Instead, turn it 90 degrees. Now you have made that diamond-shaped grill mark you see in restaurants. 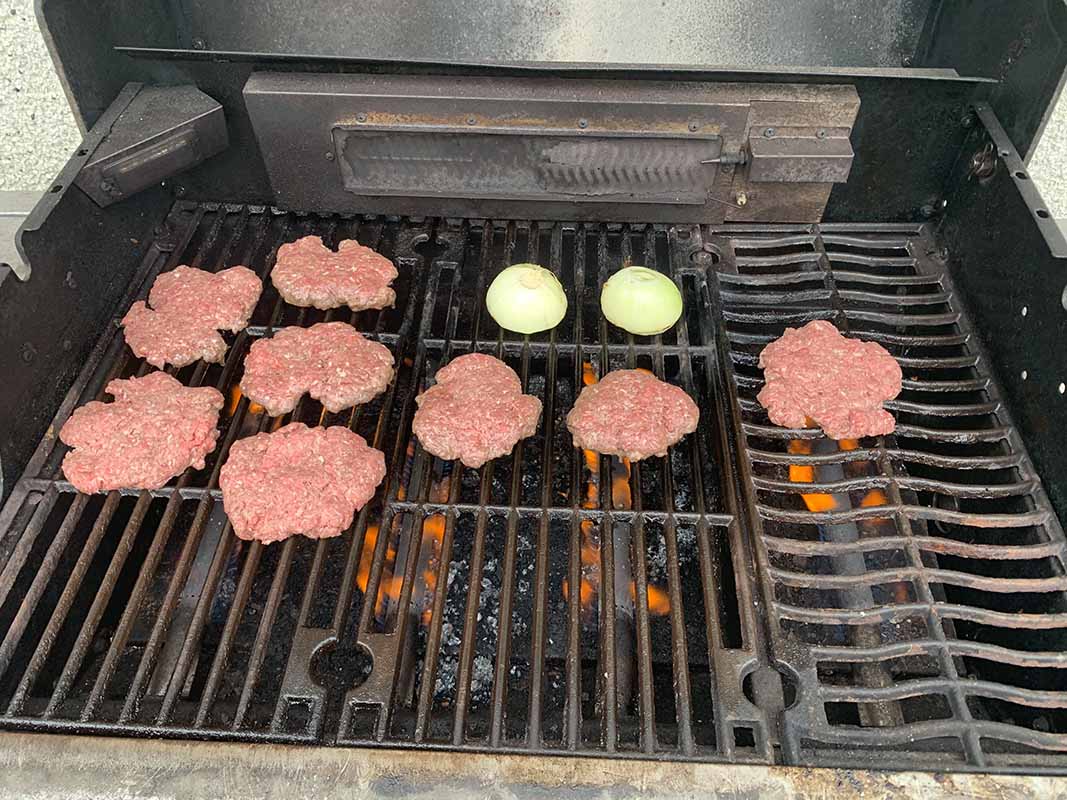
Rule 3: Rest your meat. Resting meat allows the molecules to settle down. When you apply heat to water, the molecules start to get excited, and like West Edmonton Mall in the middle of December, they start going crazy. Resting your food allows the molecules to slow down, and the pressure to decrease. This part will leave the fluids where they belong, in the meat and not on the plate.
Now for this week’s recipe. Homemade burgers!
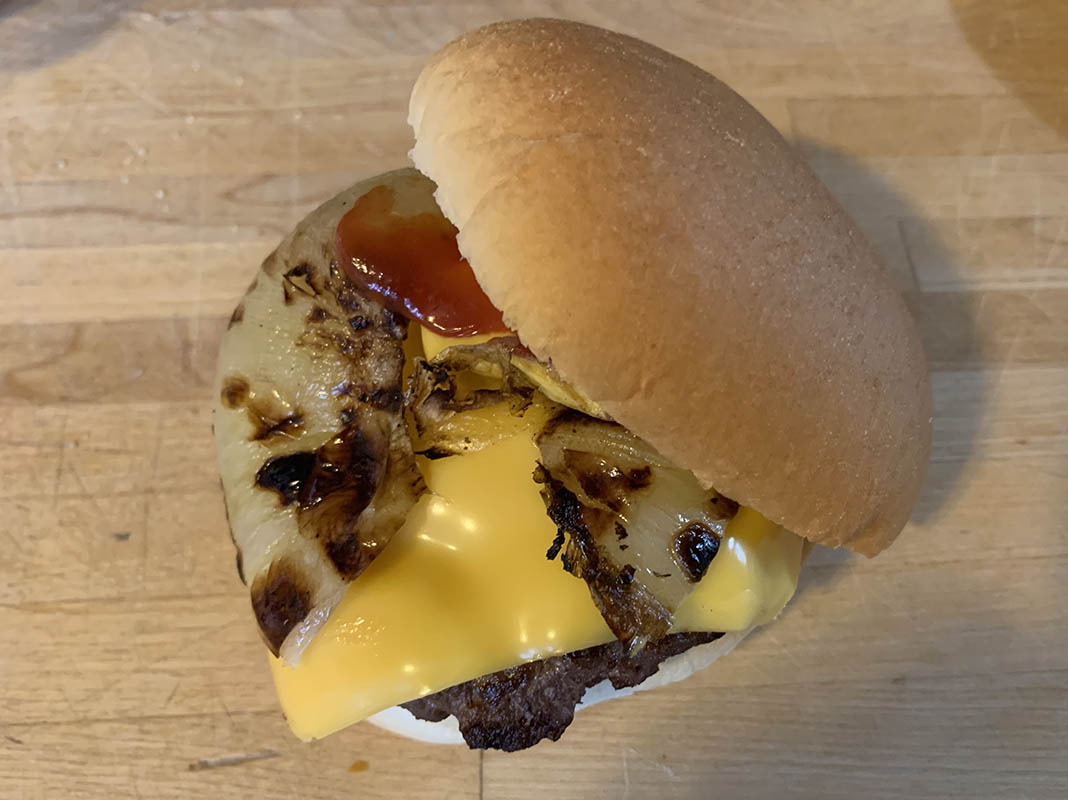 Cheeseburgers (insert cheeseburger 1)
Ingredients
2 lbs ground beef
2 tsp salt
2 tsp pepper
Directions
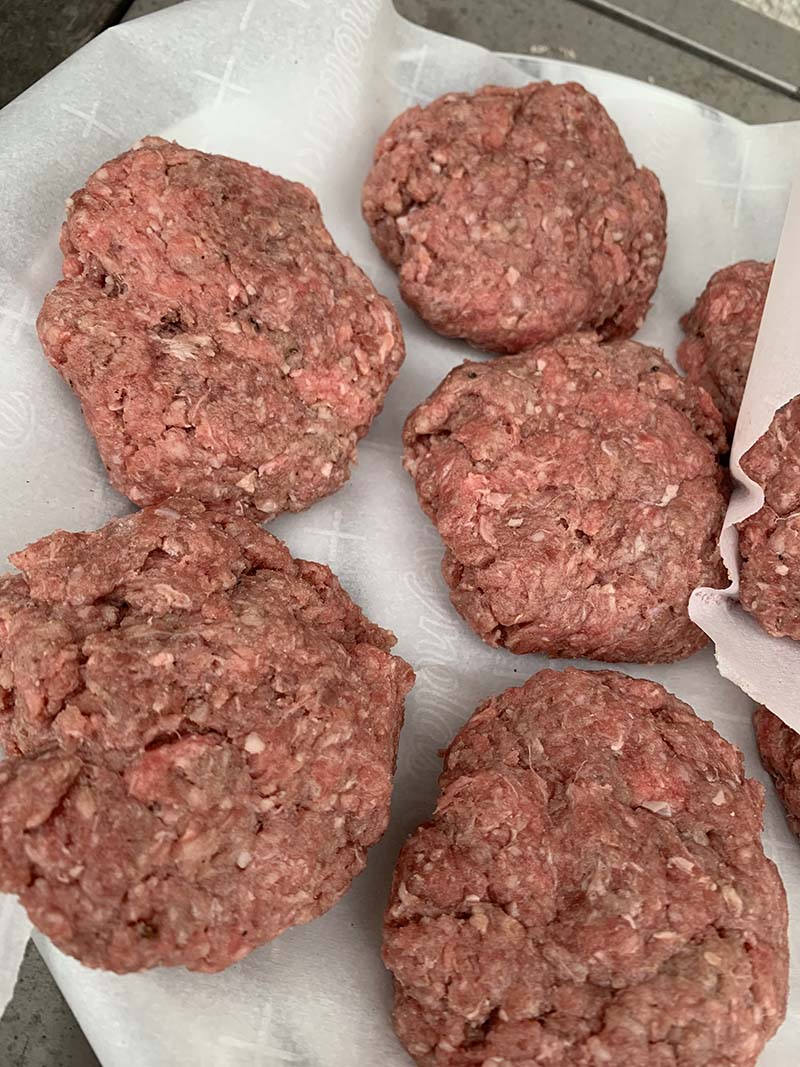
- Combine the beef, salt and pepper. Split the burgers into 8 equal sizes (if you want smaller burgers, they will be about 4oz or 1/4lb each or 131.5g). You can also make 4 burgers which would weight about 8oz or half a pound each.
- If you oil your gates on your grill, do so now. Then turn it on to high and let your grill warm-up for at least 10-15 minutes.
- Flatten your portioned beef balls into round disks and place them on the grill. Do your best, and these are going to shrink anyway, so it doesn’t need to look pretty.
- Grill your burgers on your outdoor grill for about 3 minutes per side. If they do not move easily after 3 minutes, wait for another 2. Once they move easily, turn it 90 degrees and cook for another 3 minutes. Flip them over carefully and cook another 3 minutes, then turn it 90 degrees and cook another 3 minutes. When the internal temperature reaches 160F, you have cooked burgers. This timing is only an estimate; your grill might have different hot spots and cold spots, which will affect how long it takes.
- Add the cheese if you so desire and let them rest for at least 5 minutes on the turned-off grill before consuming. Close the lid to let the cheese melt.